Properly Wiring a Piece of Artwork for Hanging
Artwork that is properly wired is secure, will protect the piece form falling, will hang straight, and will be accepted by all exhibition curators, no matter how picky. Many exhibitions will reject pieces that are not wired properly without a warning to the artist. We are providing these instructions to help you wire your pieces properly so you can display your hard work and artistic visions in the best
possible way.
- Ensure that your artwork is framed properly
A good frame enhances and unites a piece of art and provides protection for the piece. You can have your artwork professionally framed and it will look great and be properly wired. Quality framing stores know how to properly wire a piece for hanging. Evelyn Dunn Gallery in Westfield and The Artist Framer in Cranford are excellent local businesses that can frame your artwork properly and make it look spectacular. However, we know that many artists frame their own work, either with frames purchased at stores like Michael’s or Jerry’s Artist Outlet or purchased online. Please be sure that your artwork fits securely in the frame you choose. - Get the correct wire for hanging
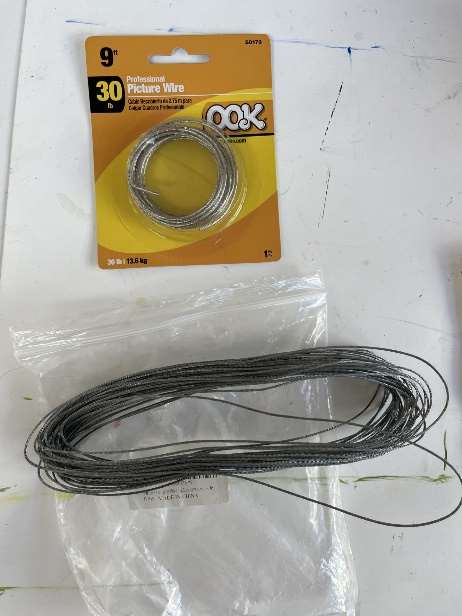 Wire that is made for picture hanging is braided wire. Braided wire consists of several strands of metal wire that are woven together to increase strength while maintaining a light weight and thickness. Braided wire is similar to the cables that hold up suspension bridges, since the braided construction makes it very strong. You can purchase braided wire online through Amazon, or almost any online store, or you can buy it at Home Depot or Loews. The picture at right shows wire purchased at Home Depot (top) and online (bottom, from Amazon). We have seen pictures that are “wired” with string, rope, copper, and other non-braided wire. These can work, but are more prone to breaking, stretching, or not being flexible.
 - Get a proper hanger to attach the wire to the frame
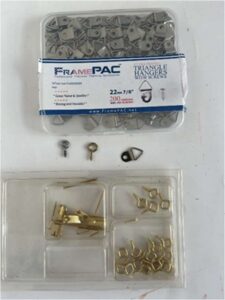 You can use hangers to attach the wire to the frame. There are several types of hangers, and we picture two different types of hangers at the left. The triangle hangers lay flat against the frame and are the best for mounting directly to the back of the frame, as it allows the frame to pay flat against the wall. Pictured on the top left are triangle hangers purchased on Amazon. The circle head screw hangers are useful if you want to attach the wire to the inside of the frame or the inside of a wood mounted canvas. For example, if your art is painted on a deep gallery canvas (where you can paint the sides), you may want to mount the wire on the inside of the wood on the back of the gallery canvas. Pictured at the bottom left are circle hangers purchased as part of a package at Home Depot.
 - Attach the hanger and wire at the right height
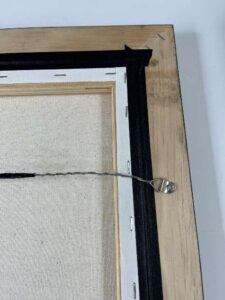 Measure the height of the frame and attach the hangers on the back one-third of the distance from the top. For example, if your frame measures 12 inches from top to bottom, you should measure 4 inches down from the top of the frame and attach the hangers. If the frame measures 20 inches from top to bottom, you should attach the hangers at about 6 ½ inches from the top. The triangle hangers attach by using a small screw while the circle head hangers just screw into the frame themselves. Use a small nail and a hammer to tap a small hole in the frame at the correct spot to make it easier for you to screw in the hanger. Ensure that the hangers are screwed in tightly as they support the entire weight of the picture.
  Attach the braided wire to the hangers
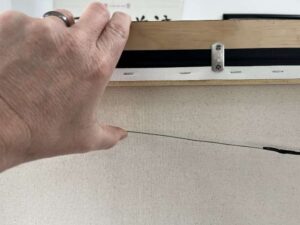
Once you attach the hangers, cut a length of wire that is six inches or so wider than the entire frame. Loop the end of the wire into the hanger, then wrap the wire around itself at least five or six times. The more you wrap the wire, the stronger it will be. The wire should be tight across the back of the frame. When you hold the wire and pull toward the top, there should be at least two inches between the top of the wire and the top of the frame. You do not want the wire to be so long so that it reaches the top of the frame. It should seem tight when you attach it. See the picture at right as an example. Once you finish wrapping the wire, tape the end of the wire so that you (and anyone who handles your artwork) do not cut yourself on the end of the wire.
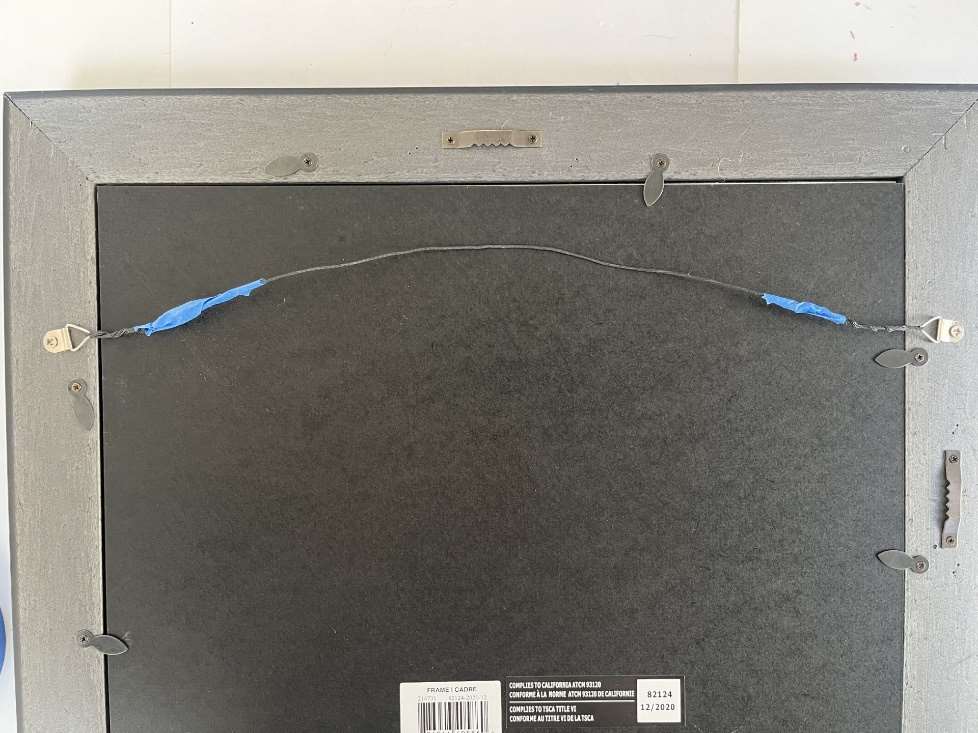
Example: The picture below shows a frame purchased at Michael’s with the typical sawtooth style hangers already mounted on the back. These hangers cannot be used in many galleries. Please see how the frame was properly wired on the purchased frame. You
can choose to remove the sawtooth hangers or leave them on.